
Device QR Code Provisioning
Corresponding example:
examples/posix/pair/scan-by-device/
This chapter describes how to complete the device Provisioning and Activation flow by scanning a QR code generated by the Tuya App.
Before reading this chapter, make sure you have:
- Product PID → obtained after creating a product on the Tuya IoT Platform, see Create and configure an Agent
- Device authorization code (uuid + authkey) → apply for it on the product page of the IoT Platform, see step 4 of Create an Agent
With this Provisioning method, the device needs a camera so it can scan the QR code generated by the App; if the device has no camera hardware, this Provisioning method cannot be used.
During the Provisioning flow, the Tuya App generates a QR code containing the WiFi credentials and the Activation Token; the device scans that QR code with its camera to complete automatic Activation without manual input.
After Activation succeeds, the cloud assigns the device a devid, secret_key, and local_key; all three fields are
required when using iot_client_init() and the AI SDK interfaces later.
App-side steps
Step 1: On the Tuya App home page, click the "+" in the top-right corner and select "Add Device".
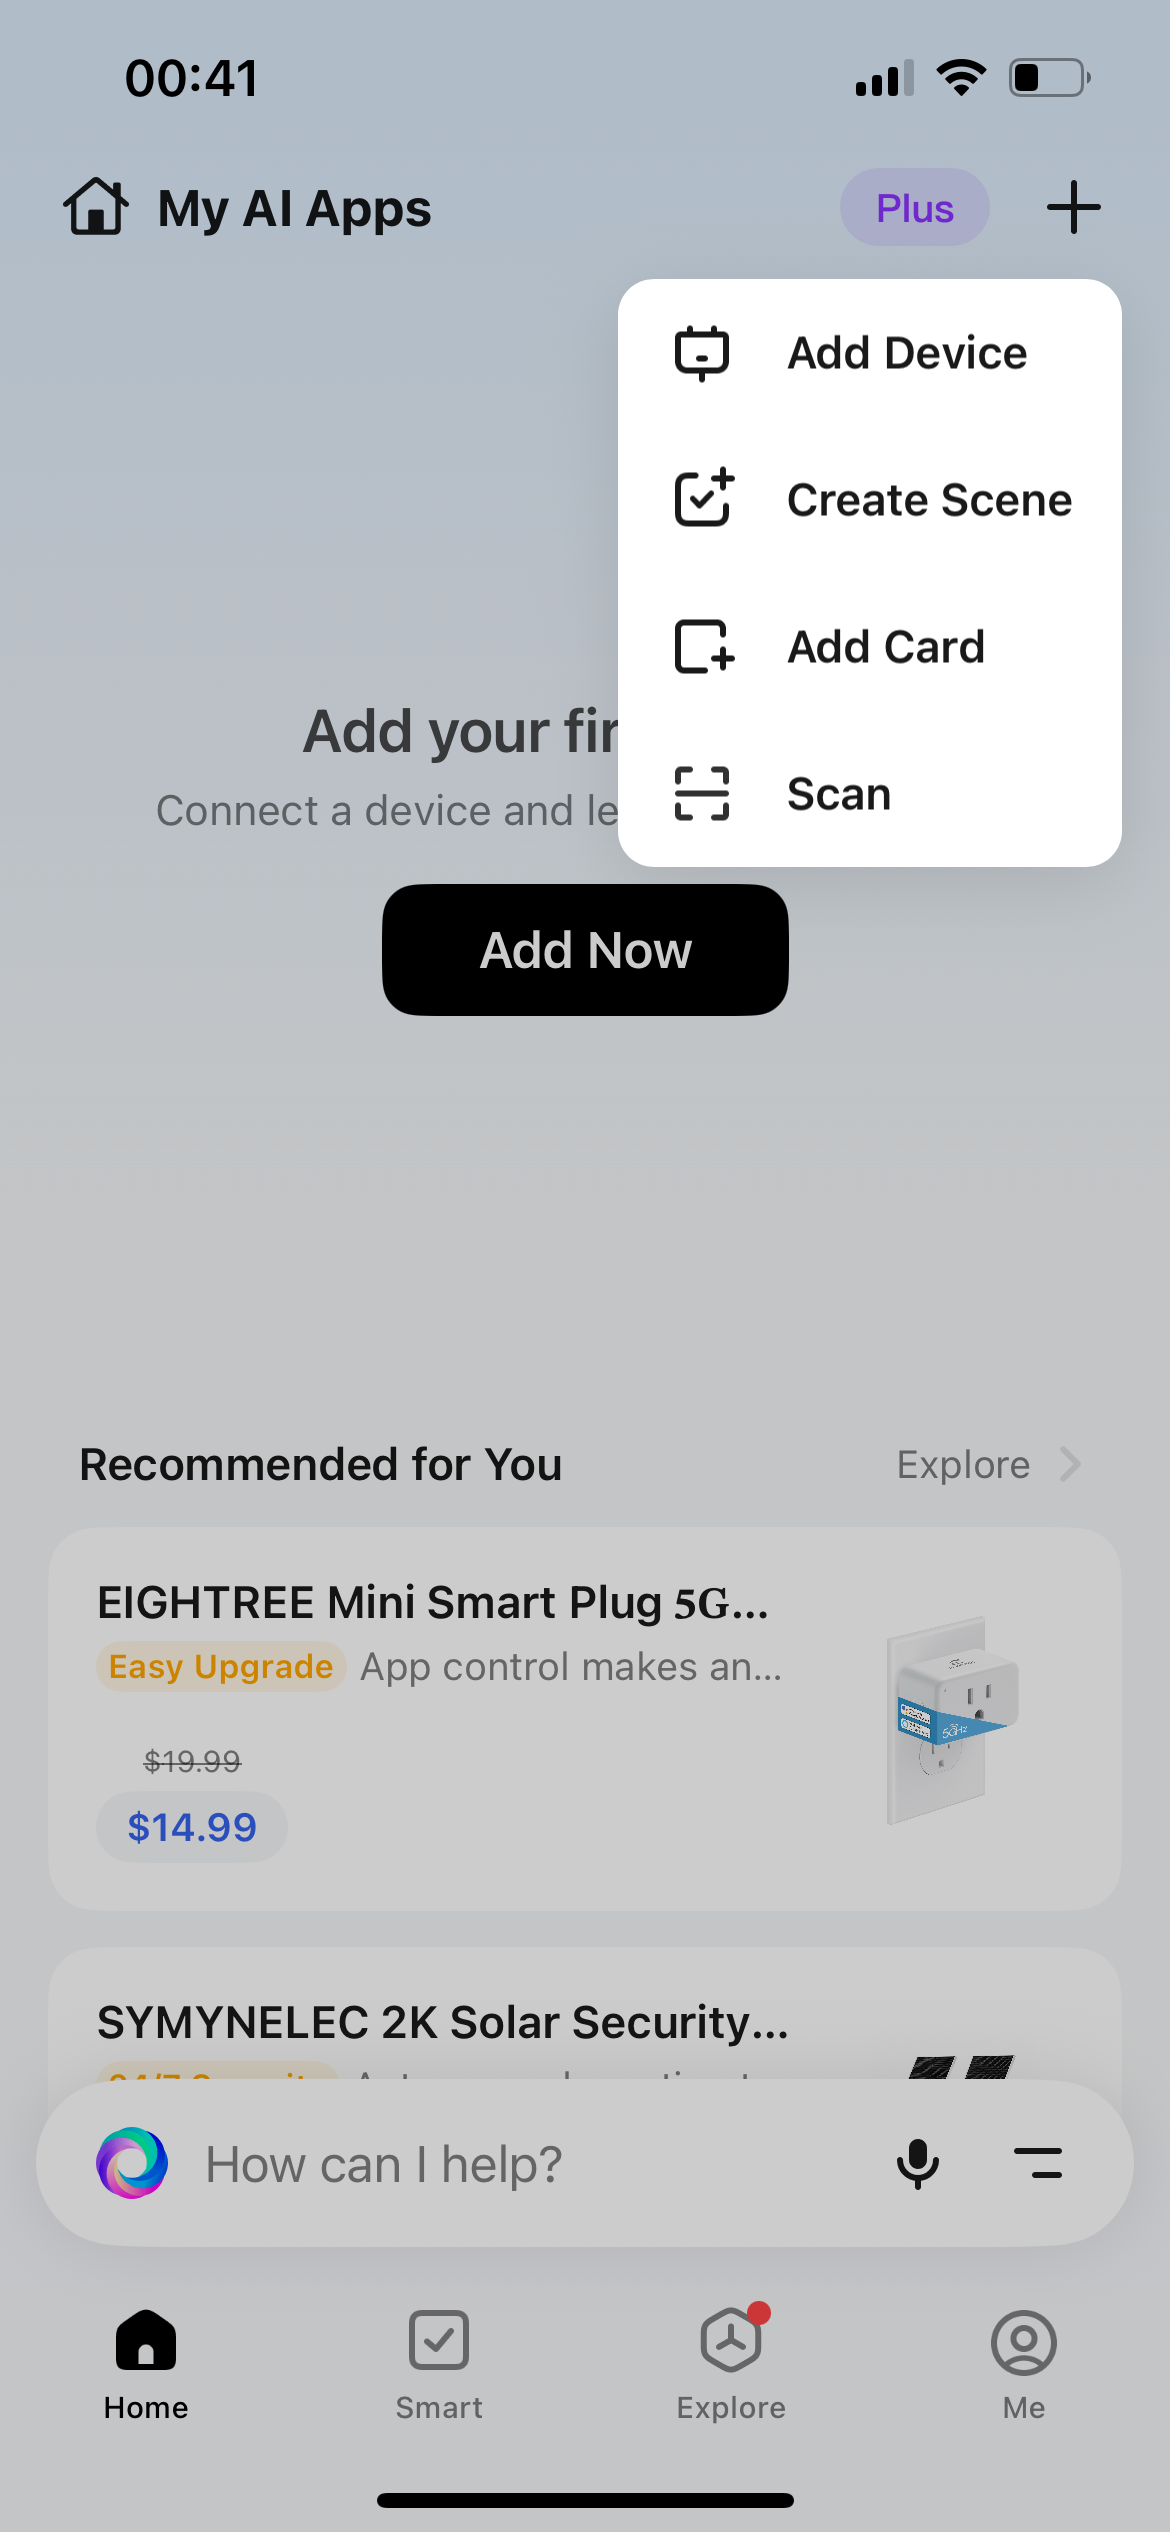
The figures in this sequence are schematic guides, not screenshots. Current English App labels have not been verified. Use the live App for provisioning; no real identifiers, WiFi credentials, Activation Tokens, or scannable QR codes are included here.
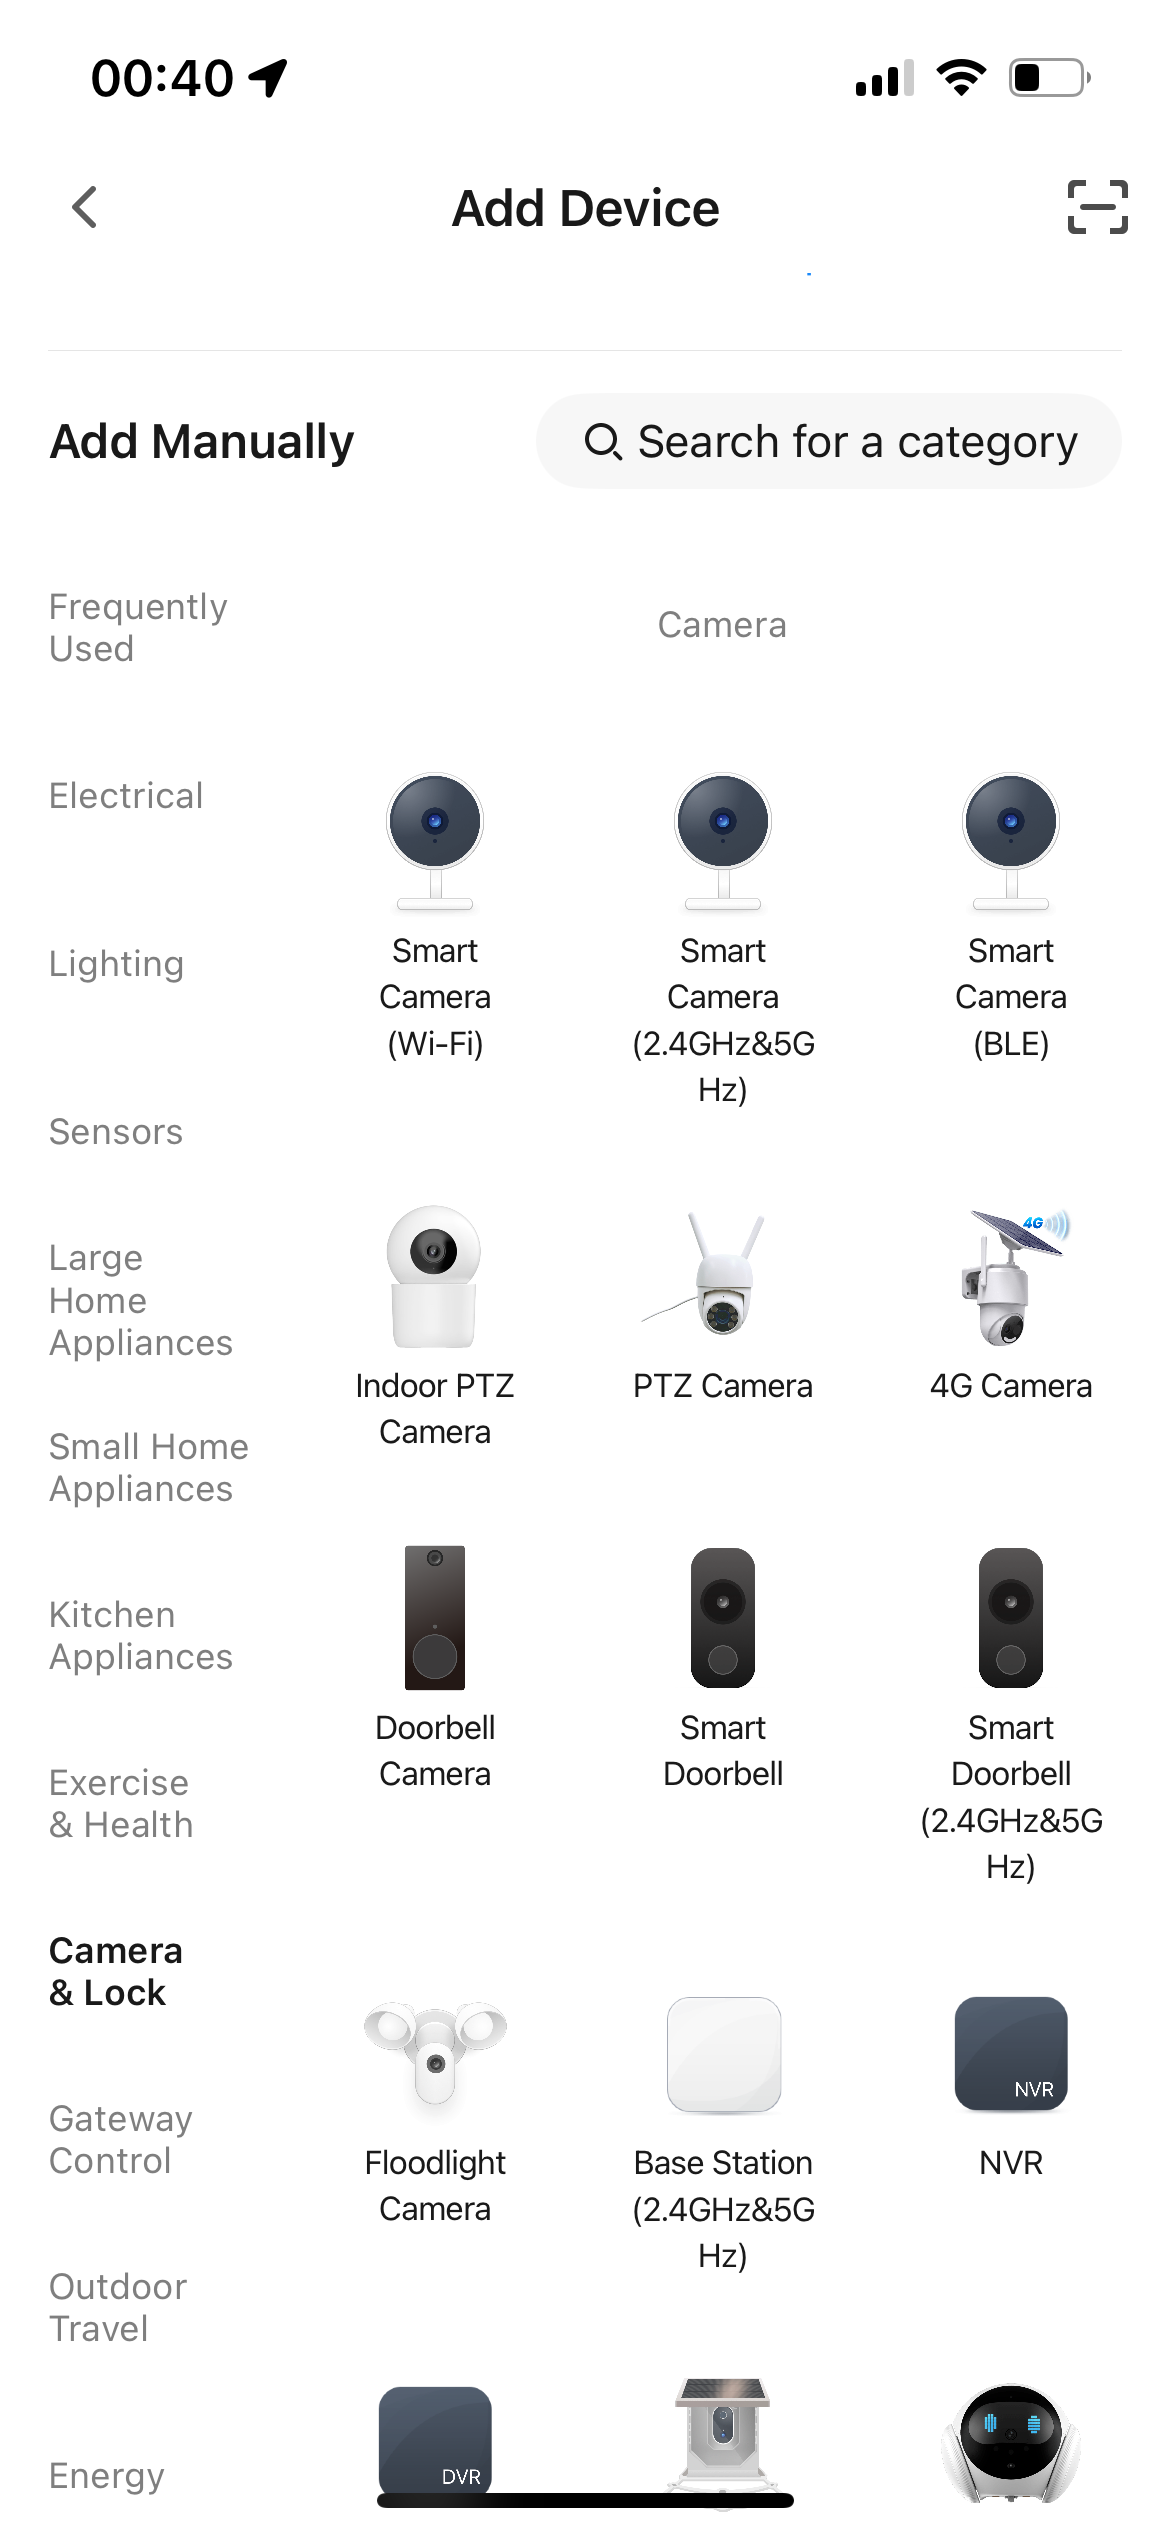
Step 2: In the device category list, select the corresponding product category (for example: Camera → Smart Camera Wi-Fi).
Step 3: The App displays a Provisioning QR code and prompts the user to point it at the device camera, keep a distance of 15-20 cm, and wait for the device to beep.
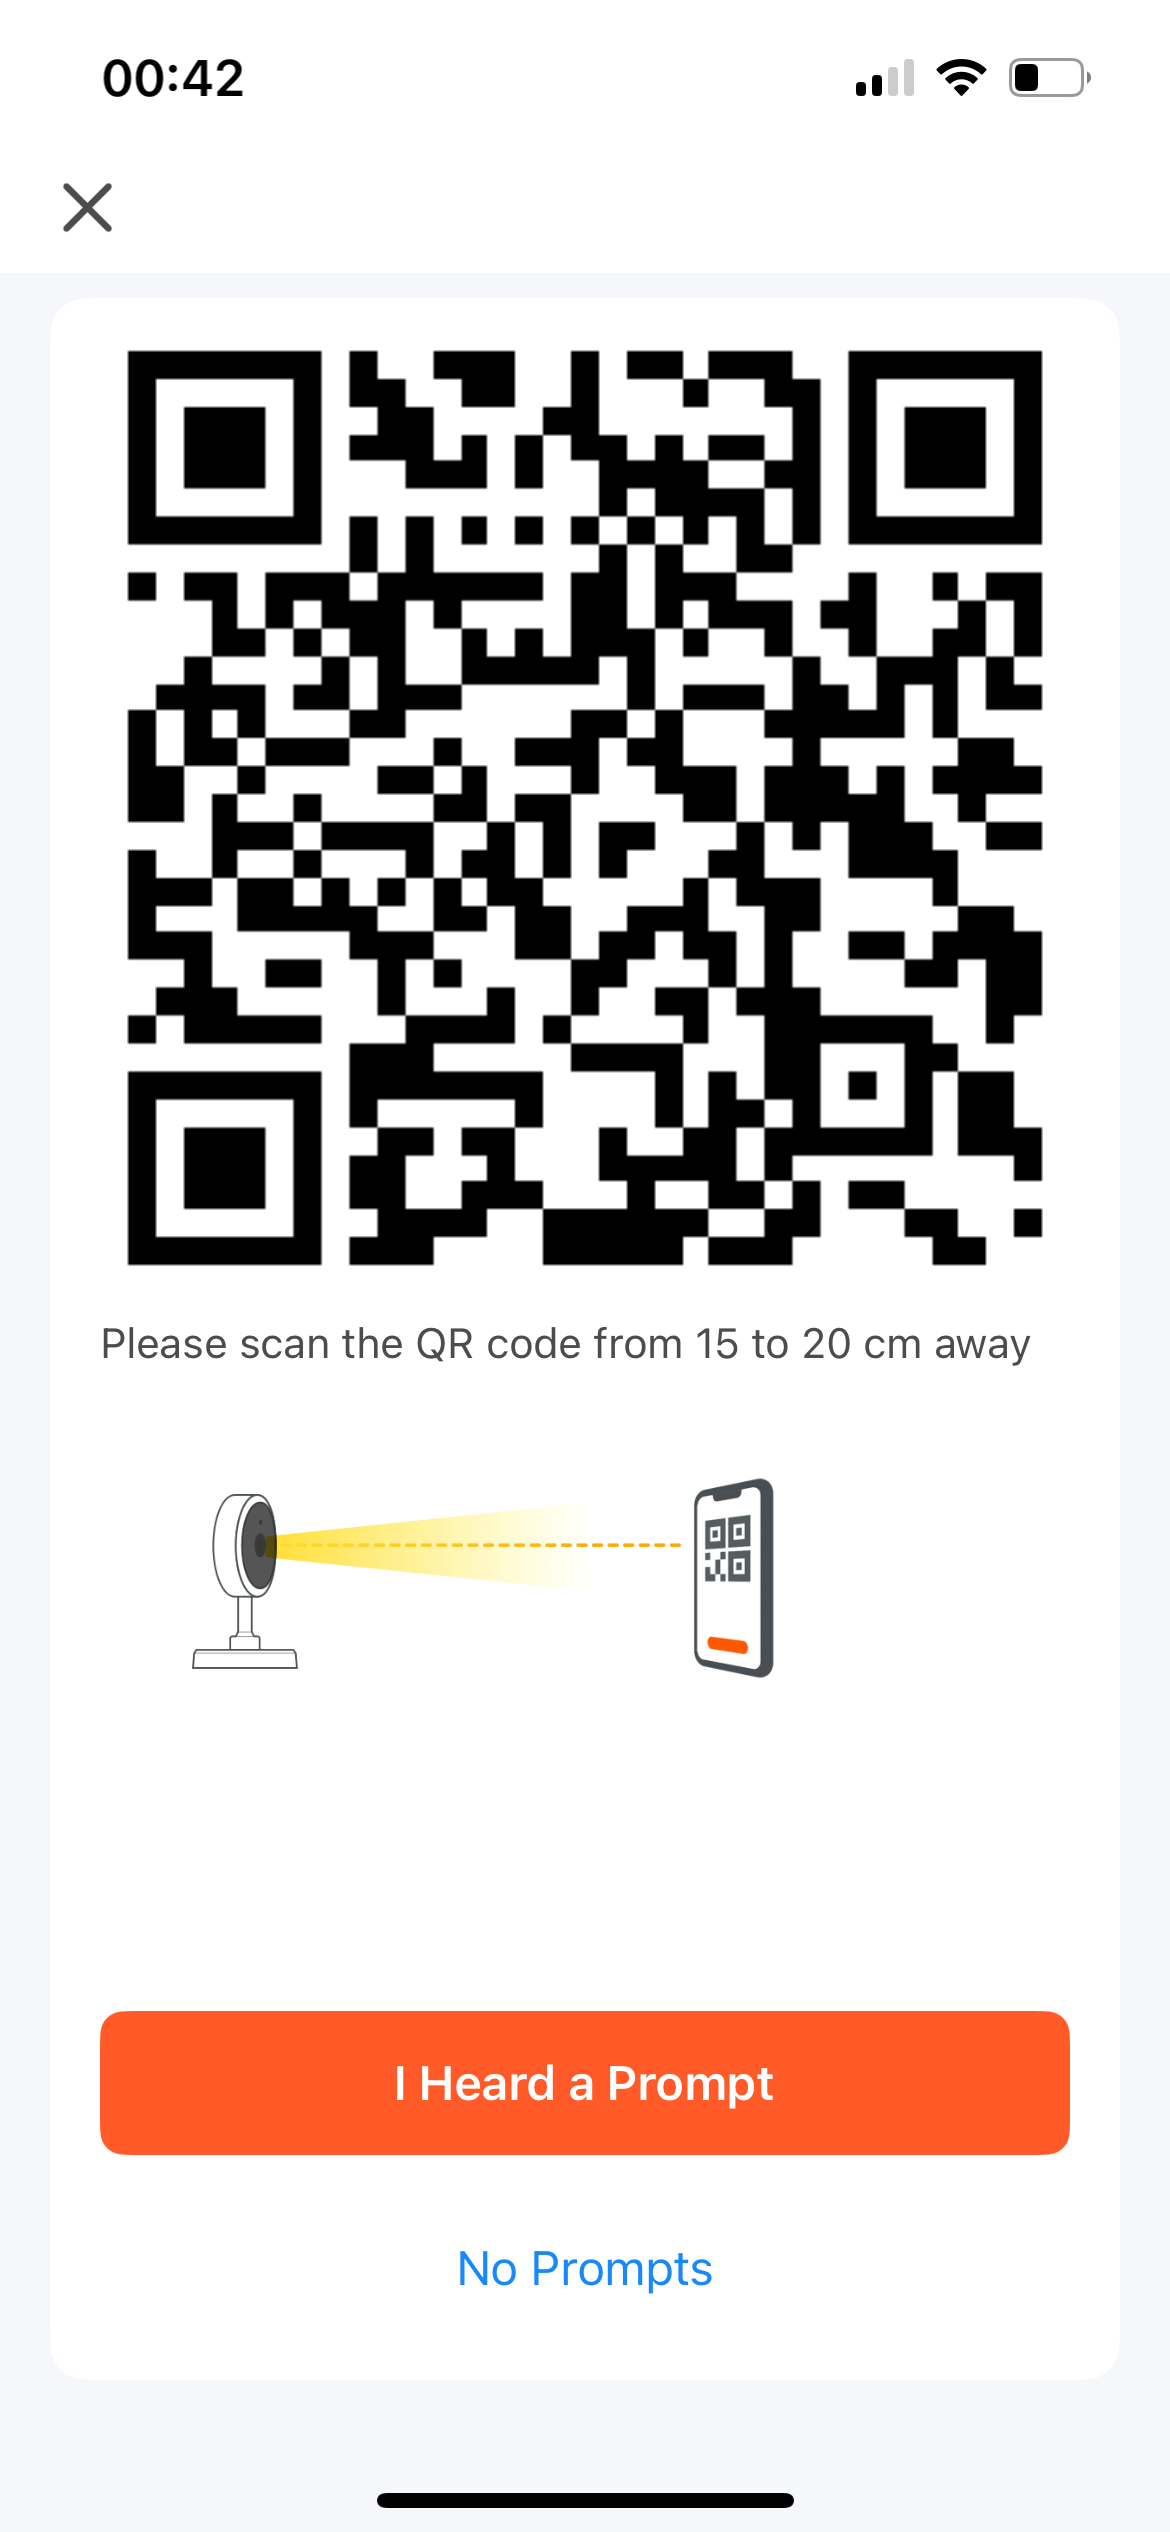
The QR code content is a fixed-format JSON string:
{"s":"<SSID>","p":"<password>","t":"<token>"}
where:
| Field | Description |
|---|---|
s | WiFi SSID |
p | WiFi password |
t | Tuya cloud Activation Token (the first two characters encode the Region) |
Device-side implementation flow
stbi_load(jpg_path)                          // 1. Decode JPEG -> grayscale pixel buffer
        |
        v
quirc_resize / quirc_begin / quirc_end       // 2. quirc locates and decodes the QR code
quirc_decode()
        |
        v
json_get_str("s") / ("p") / ("t")           // 3. Parse JSON, extract SSID / password / Token
        |
        v
iot_client_init_on_boarding_with_token()     // 4. Activate the device with the Token to obtain credentials such as devid
        |
        v
iot_client_get_session_token()               // 5. Verify cloud connectivity and obtain the AI Session token
        |
        v
iot_client_deinit()                          // 6. Release resources
Key APIs
iot_client_init_on_boarding_with_token()
iot_client_t *iot_client_init_on_boarding_with_token(
    const iot_on_boarding_config_t *config,
    const char *token);
Skips waiting for MQTT and directly uses a known Token to initiate an Activation request. The Region is automatically derived from the first two characters of the Token; no manual specification is required.
The App only considers Provisioning successful after it detects that the device has connected to the Tuya cloud MQTT channel (the device is online).
If you only complete Token Activation and obtain credentials such as devid without connecting to MQTT, the App shows Provisioning failed / timed out.
This is therefore now guaranteed by the default behavior—auto-connect is enabled by default with no extra configuration required; as long as you do not set .mqtt_disable_auto_connect, the device connects to MQTT automatically after Activation completes:
iot_on_boarding_config_t cfg = {
    // ...
    // Do not set .mqtt_disable_auto_connect: it auto-connects to MQTT by default, which is what lets the App judge Provisioning successful
};
Only if the application explicitly sets .mqtt_disable_auto_connect = true must it call iot_client_connect() manually immediately after Activation succeeds.
Main iot_on_boarding_config_t fields:
| Field | Description |
|---|---|
uuid | Device UUID (the authorization code applied for from the Tuya IoT Platform) |
authkey | Device Auth Key |
product_key | Product PID |
firmware_key | Firmware Key (may be empty) |
timeout_ms | Activation timeout (milliseconds) |
env | Environment: PROD / PRE |
Return value: On success, returns an iot_client_t * that contains the devid, secret_key, and local_key after
Activation, which can be used directly to initialize iot_client_init() later; on failure, returns NULL.
Running the example
# Use the default arguments (the test authorization code built into the code + res/qr.jpg)
./build/scan_by_device_pair_demo

# Specify arguments
./build/scan_by_device_pair_demo ./res/qr.jpg <uuid> <authkey> <product_key> <firmware_key>
Note: Run this from the
examples/posix/directory so that the default pathres/qr.jpgresolves correctly. The test resource files are located in theexamples/posix/res/directory.
Example of a successful output:
=== scan-by-device pair demo ===
QR image     : res/qr.jpg
UUID         : tuyaXXXXXXXXXXXX
Product key  : p891xbkosae0dgda

[scan_by_device] Image loaded: res/qr.jpg (400x400)
[scan_by_device] QR payload: {"s":"MyWiFi","p":"password123","t":"AY..."}
[scan_by_device] SSID    : MyWiFi
[scan_by_device] Password: password123
[scan_by_device] Token   : AY...
[scan_by_device] Starting on-boarding with token...
[scan_by_device] Activation successful!
[scan_by_device] devid      : <device_id>
[scan_by_device] secret_key : <secret_key>
[scan_by_device] local_key  : <local_key>
[scan_by_device] Session token acquired (len=1234)
After Activation succeeds, save the output devid, secret_key, and local_key to the device's persistent
storage and use them directly via iot_client_init() later, without repeating Provisioning.
Notes
- This example uses
stb_imageto load an image from a file; in a real product, simply replace it with live camera frames by writing the pixel data into the buffer returned byquirc_begin(). - The Token is time-limited; after the App displays the QR code, the scan and Activation must be completed within its validity period.
firmware_keycan be passed as an empty string in most scenarios.